Showing posts with label art. Show all posts

Saturday, June 10, 2023

Spin art

What's up everybody! It's been a while since I've done crafts so today I'm going to try this spin art kit. I've got my trusty craft apron on for this project, and it looks like I'll need it too!

First, let's cover our workspace with newspaper and lay out all the materials. We have a spinner, some paint, and circle paper that will be our canvas.

I'll first add three drops of blue paint onto the paper.

Then I pull the little lever on the side of the red spinner and get it going! When it spins, the paint flies out to the edges. Whoa, be careful it doesn't get on my fur!

Let's add more paint to it and see what it will look like.

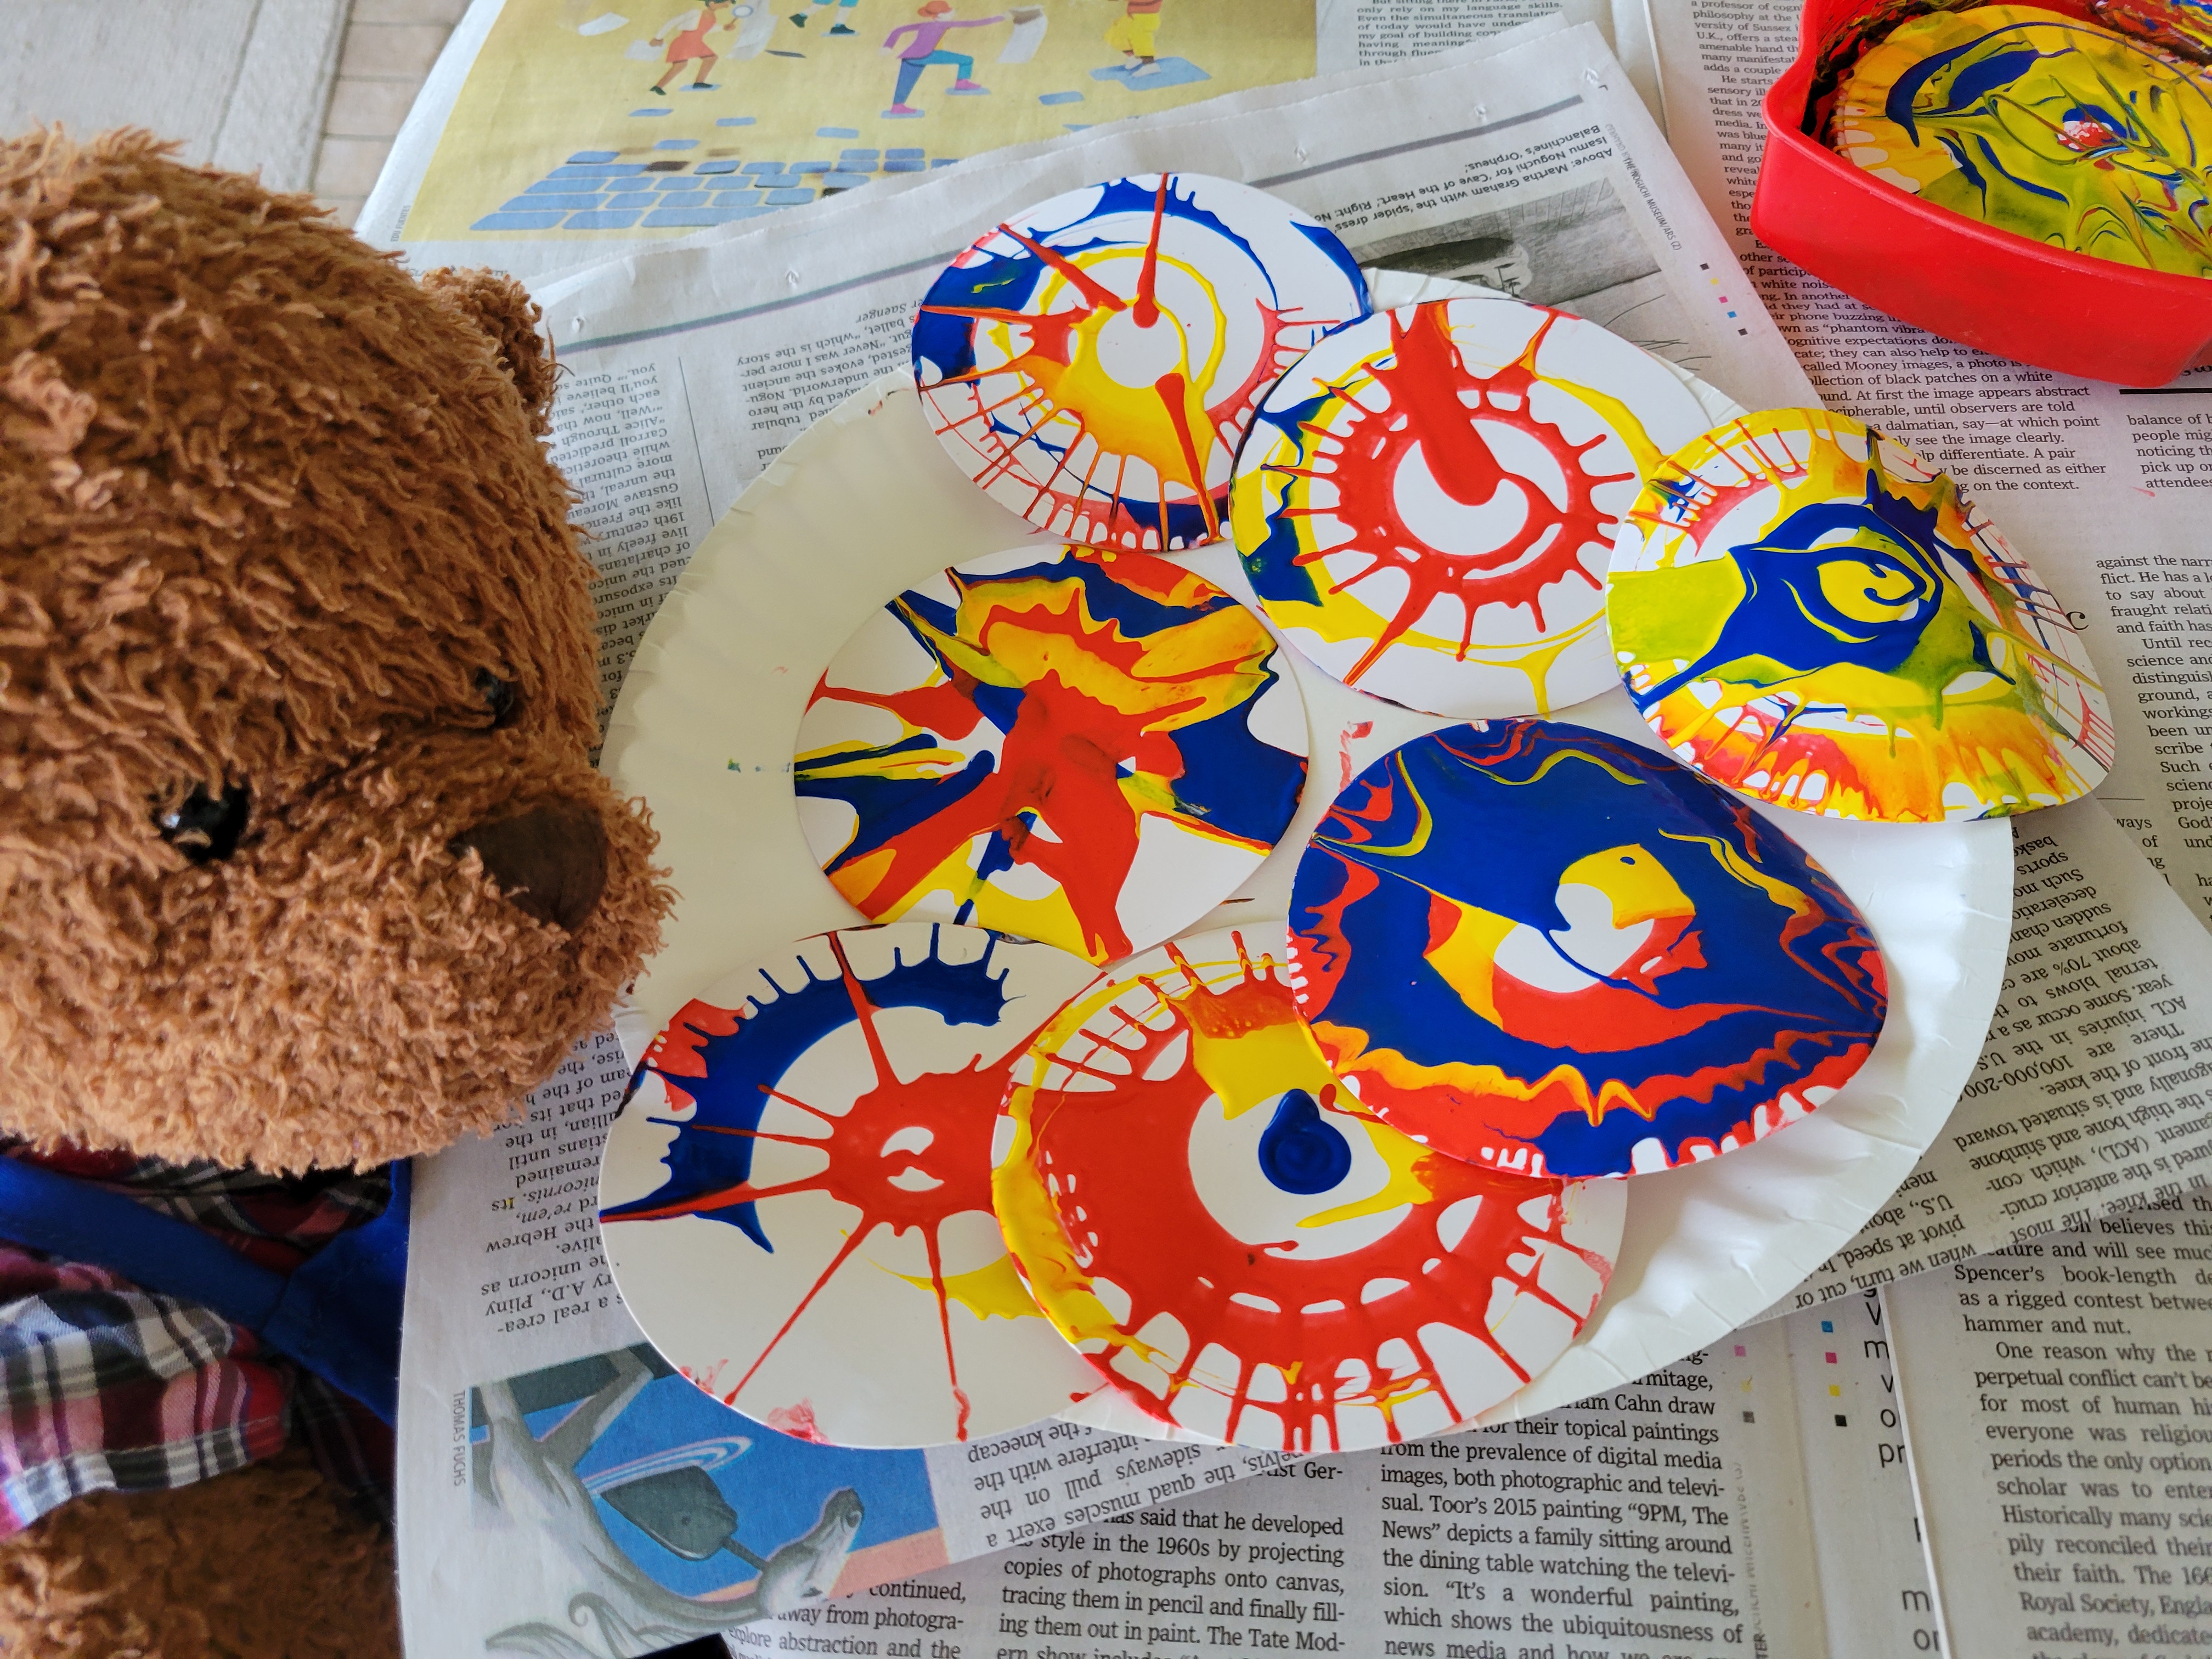
Cool! Each design is unique. It is getting a bit messy here so I have to be careful.

I made several of them. What do you think? Do you have a favorite one?


Wednesday, October 19, 2022

Mosaic kit

Hey everyone, I've got my craft apron on, so that means we are crafting today!

Today I'm going to make a mosaic of a bee with this cute little kit. It has been sitting around for months and I FINALLY get to make it today.

So I'll first lay out all the materials on some newspaper and see what we've got. A mold, some glass pieces, and a bag of cement.

Next, I'll trace around the mold on the newspaper.

This is to make it easier when arranging the mosaic tiles, so now I have an idea of how I want to lay out the pieces.

And now, for the messy part... mixing the cement. I'll leave this to my mom who is mixing it with gloves. I don't want cement on my fur.

We carefully pour the cement into the mold.

Then, we arrange the tiles on the cement. (Editor's note: Multiple attempts were required for this step and it got very messy).

I think it turned out great! I'm going to let it dry overnight.

Have you made a mosaic before?


Wednesday, February 2, 2022

String art

 Hey everyone, hope you're having a good 2022 so far! I can't believe it's already February. Time flies, doesn't it?

Today, I'm going to be making string art from a craft kit. I'm wearing my craft apron so my clothes stay nice and clean.

The design we'll be making is a succulent plant. We've been getting into gardening and plants lately, so this is just perfect! Here I have a wooden board that has a bunch of nails already hammered halfway into it. It will be the outline for our design.

The kit comes with colored string and a picture of the final design.

We'll start by taking one color string and wrapping it around the corresponding nail as indicated in the photo.


Then we fill in the shape by going up and down, left and right, and zig zag in all directions. There are no rules in this step, so just do whatever you'd like to fill it in!


Oops, I'm a bit tangled up in the string!


Okay, now we're making progress and going up to do fill in the leaves of this design. We are using two different shades of green here.


And finally! It is finished! What do you think? It took several hours to make.


I know the perfect place to display it. It'll look great here on the fireplace mantel.


Thanks for joining me and making string art! Let me know in the comments if you've made string art before.


Wednesday, July 14, 2021

Painting a teacup

Today I'm going to paint a teacup and saucer with this awesome arts and crafts kit! By the way, I'm still rocking my star bandana from July 4th.

It has a teacup and saucer, plus paints and brushes - everything I need!


I'm going to paint the saucer blue with some yellow stars on it. Can you guess the theme of this teacup?


Yes, we're going to outer space! I'm painting a red rocket on the teacup.


There - it's done!


Look at that... perfect for a cup of hot tea and honey and maybe some cookies.


Of course, I'm going to take this opportunity for shameless plugging my website Life is Beary Good.


And I painted a Saturn-like planet on the other side. I wonder how many planets out there are similar to Saturn with its rings.


Maybe one day, I will find out! This is the perfect teacup to take with me to outer space.


Sunday, April 11, 2021

The Joy of Painting, Episode 2

Hello everyone! My name is Bear Ross and I'd like to welcome you to The Joy Of Painting, Episode 2. If you've been following along, you might remember our first episode. Thanks for joining us once again!

Today, I'm going to introduce a new painting technique to you with this Bob Ross paint-by-number kit.


I'll just set up all my materials here. You can get your canvas and paints and brushes out too, and paint happily here with us today. We love having you enjoying this wonderful way to relax and have fun!

This kit comes with three different pre-numbered canvasses. I'm going to go with this beautiful mountain scene right here.

First, I'll fill in the trees with nice green colors. There we go. Nice and green, happy little trees.


Whoops, I painted outside the lines... don't worry about that. Here, we have no mistakes, just happy accidents.


Now, let's give this some water. I love painting water. Remember, this is your world, your creation. You have unlimited power on this canvas. You can do whatever you want here. Let's fill in some nice mountains in the background. And then let's add some happy little clouds floating in the sky.

Alright, well I think we have a finished painting here! Remember, there is an artist within each and every one of you.


Thank you for painting with us today! See you on the next episode of The Joy of Painting!


Tuesday, March 23, 2021

Making a bouncy ball

Hello everyone, Ajdin here! Today, I am going to be making a light-up bouncy ball from this craft kit I have. I have a TON of craft kits that my mom got me recently to beat away the boredom. So let's get started!


For starters, I'm going to put everything on a plate for easier cleanup. We have several pouches of what looks like small plastic pellets, a ball mold, and the light up battery part.


The light up battery goes inside the plastic mold... like this!


And then the mold snaps closed... like this!


Then the instructions say to fill the mold with the colored pellets. I alternate the colors to make a cool design.

After that, it's time to dunk this mold in a cup of water. My mom is going to help out so I don't get soaked!


The mold needs to soak for about 90 seconds.


After that, we'll let the mold sit and dry for about 4 minutes. Waiting is hard, isn't it?


Now I can finally open the mold to see the finished bouncy ball. Voilà! It's an interesting mix of blue, green, and yellow colors. When I bounce it on the hard ground, it lights up for about 10 seconds. Cool!

Stay tuned for more arts and crafts projects! What have you made recently?